Project Life: Making it Work For Me: Jan 2011
Annette Haring
Making it work for you. That's the topic of today. I thought I would share one of the ongoing projects I'm working on.

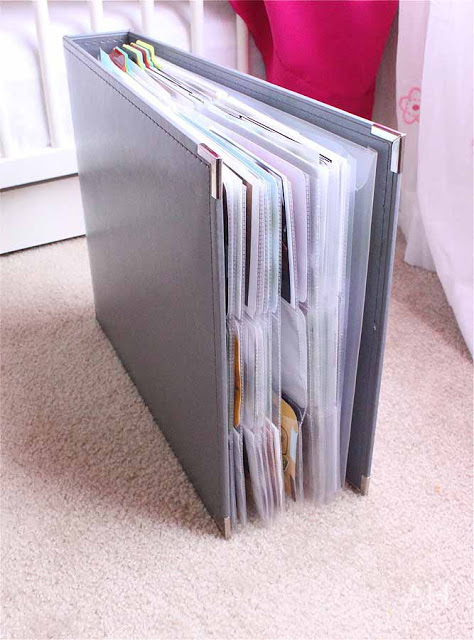
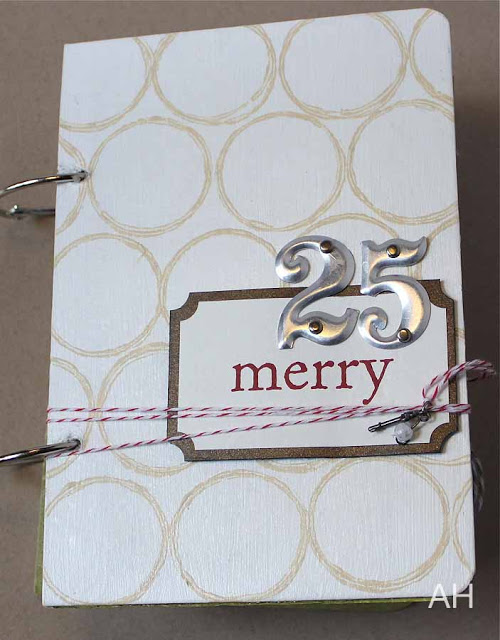
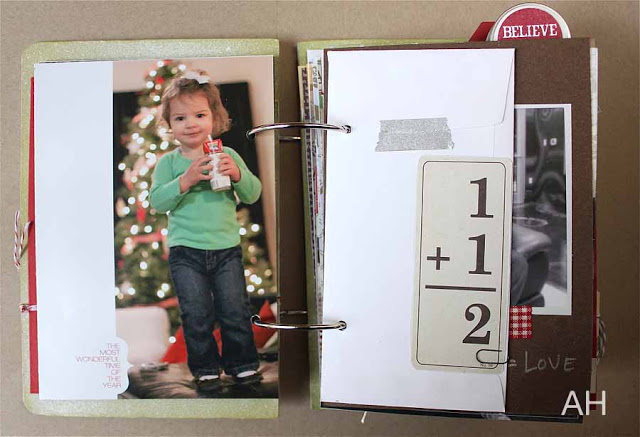
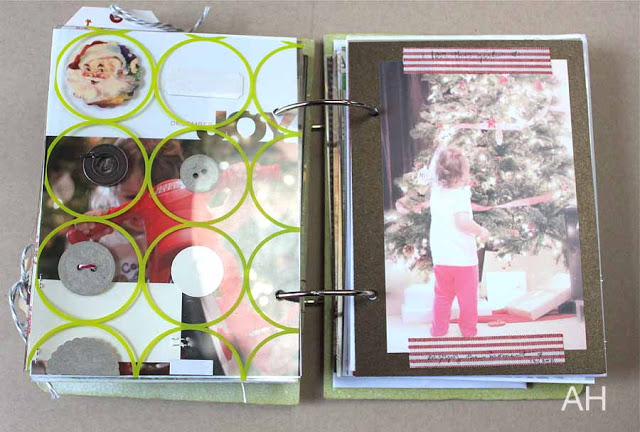
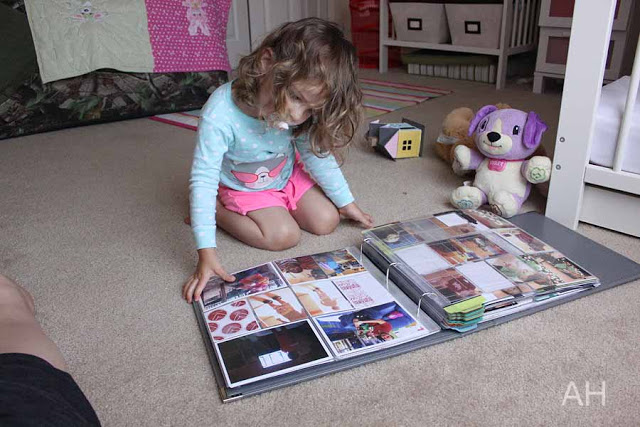
A look at my binder. As I've been adding things I think there will be two volumes. For more detail on the binder scroll to the end of the post.

Love that she wanted to look at the book! She was so excited to see herself and mommy and daddy.


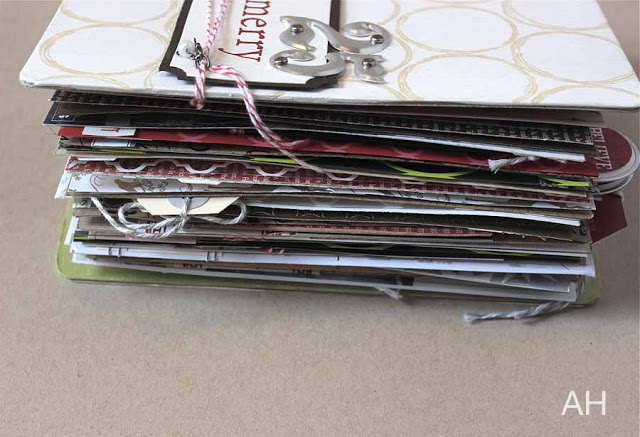
As you can see I still have some work to do!

These pages are big! But I have a lot of photos + stuff = need for big pages!

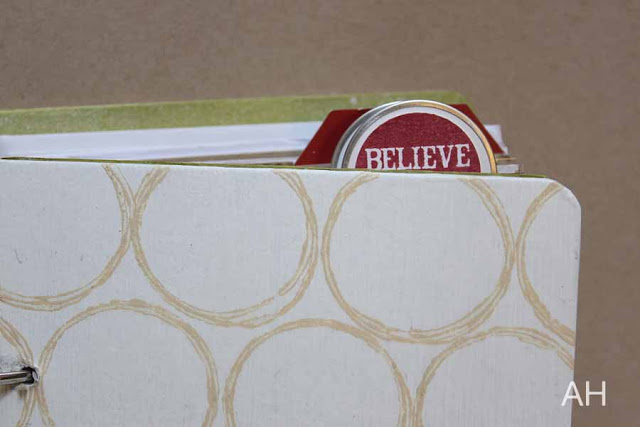
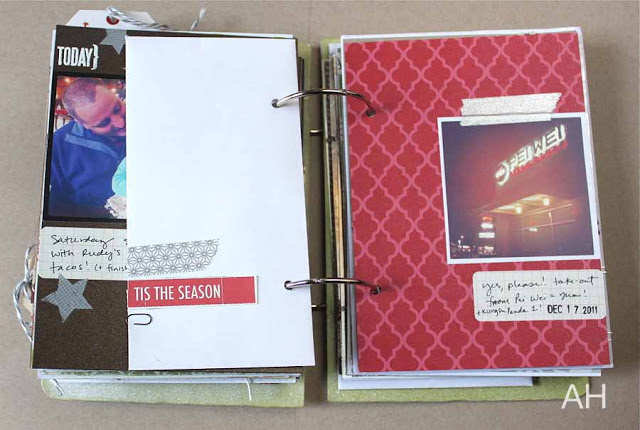
This makes me want to keep adding memorabilia and little bits and pieces of life.
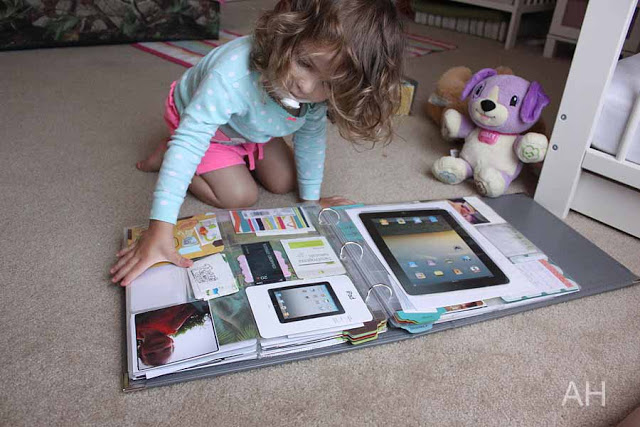
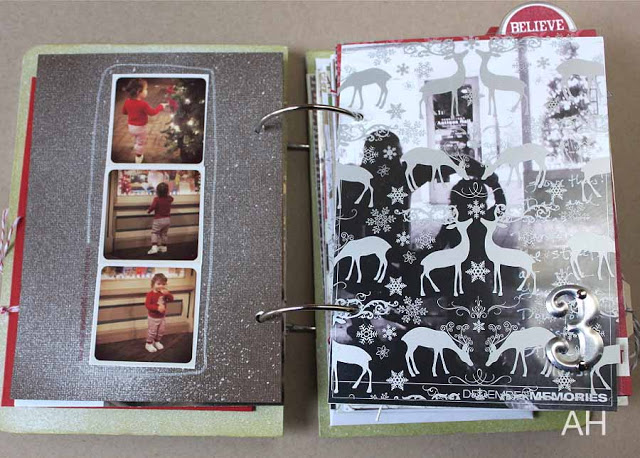
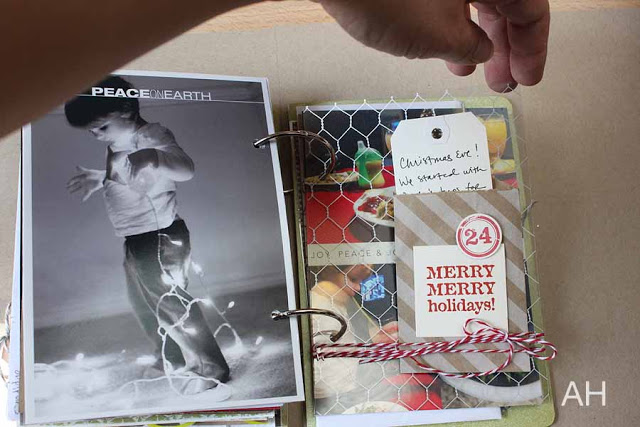
Love this perspective.

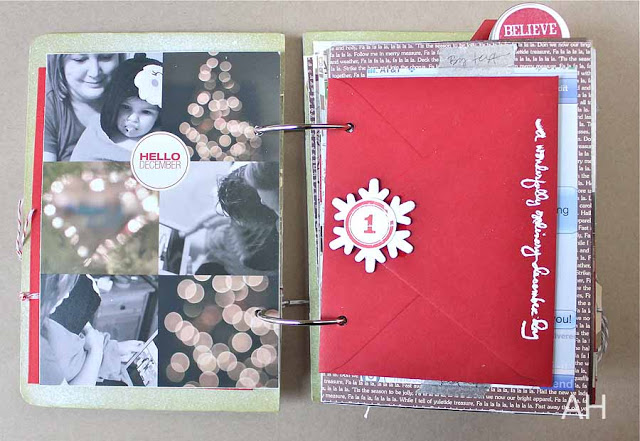
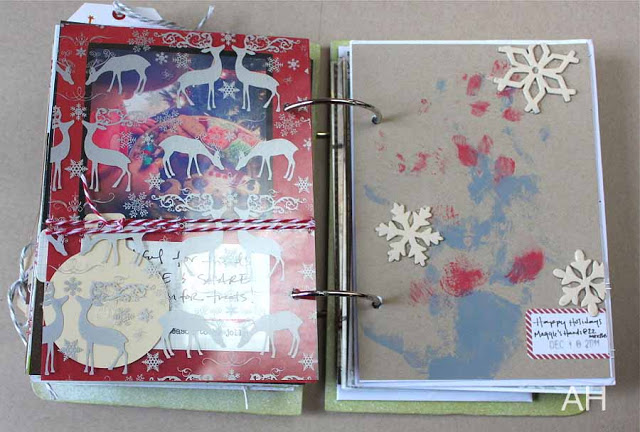
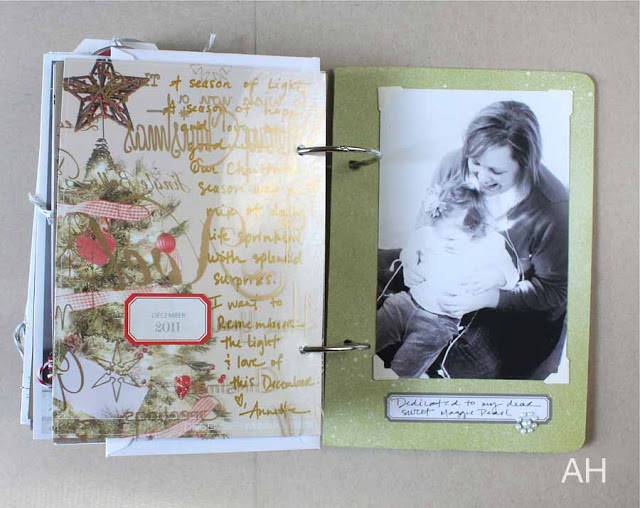
Above that is December. I have the photos for January and December so far. Will gradually work on adding the rest.
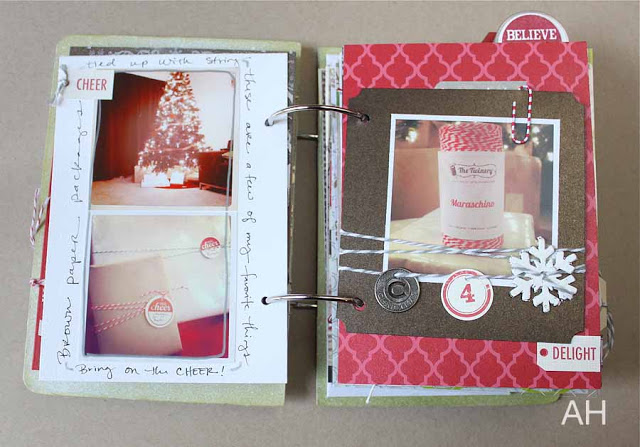
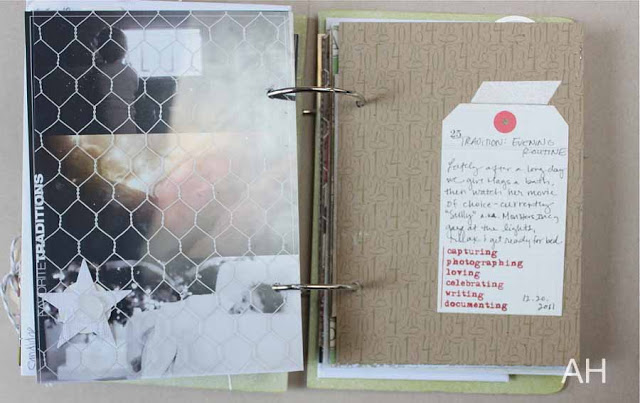
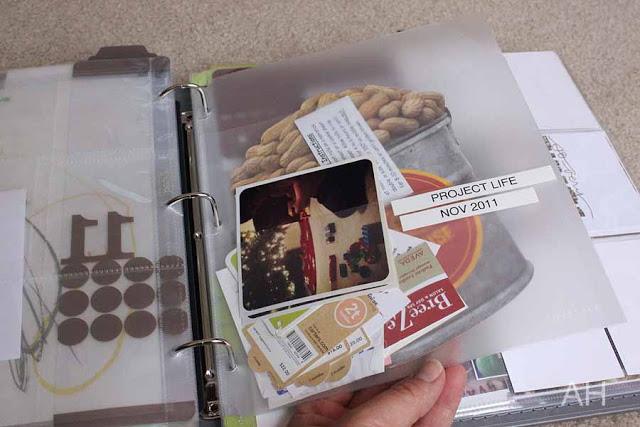
Below is one way I have tried keeping track of memorabilia. I got this from Office Max. It has three slots for different sized stuff. Works great.
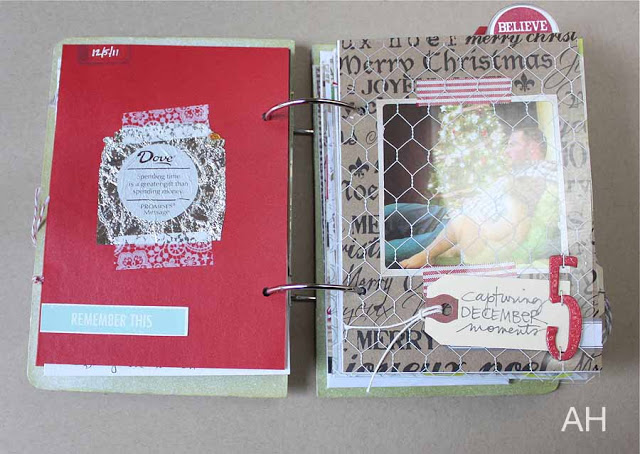
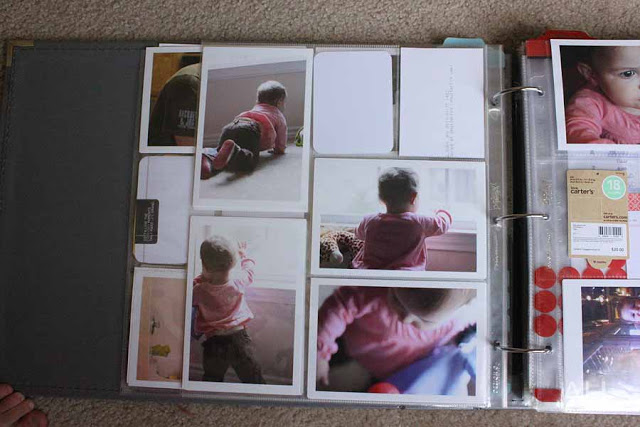
And below here is January after I added the photos and before I added the journaling.
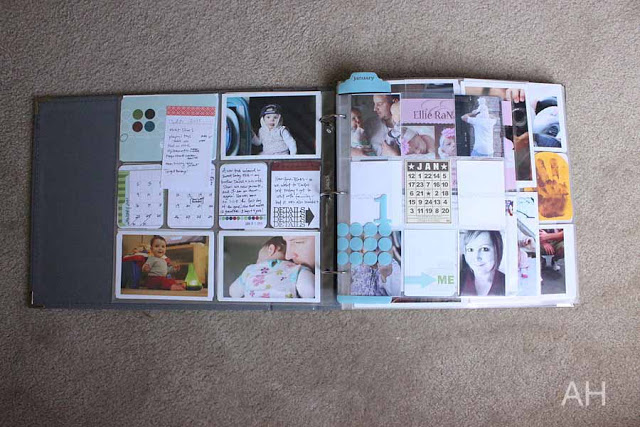

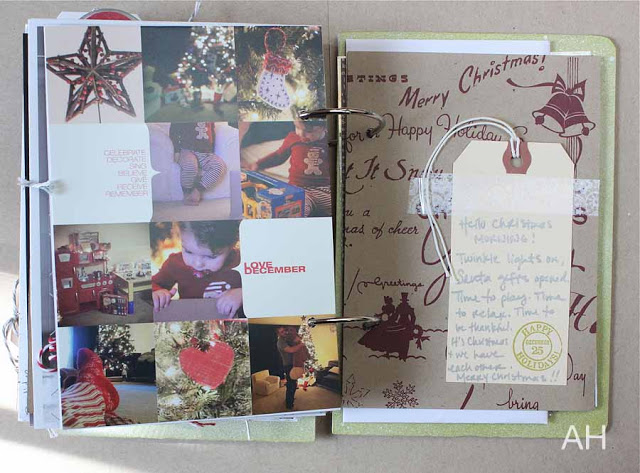
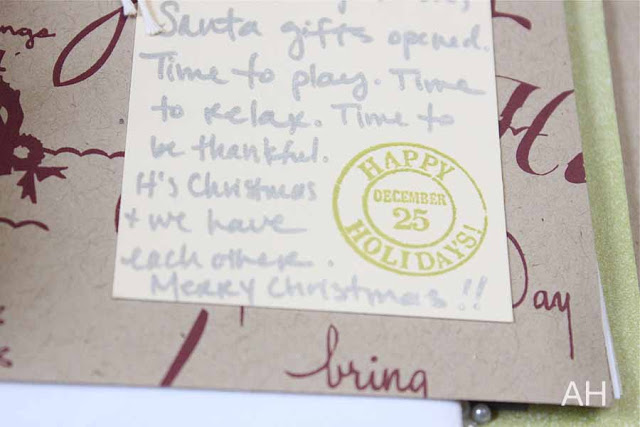
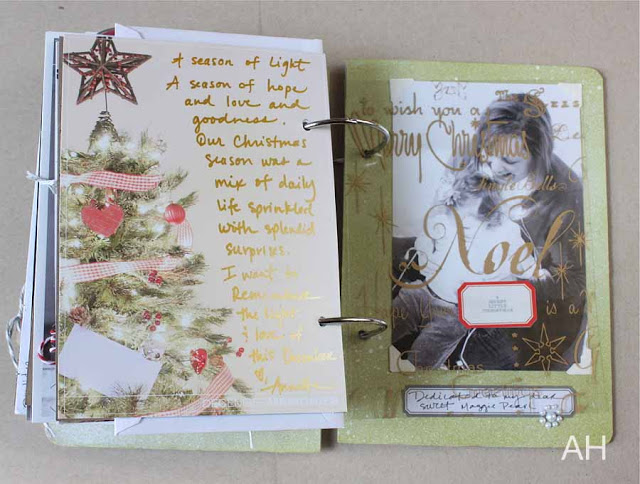
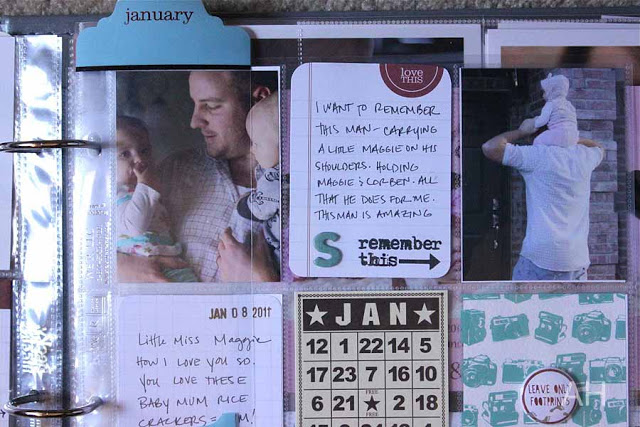
Below you can see where I added some journaling.
I used a journaling card from Archivers instead of the full color intro card. With this many photos I wanted a place for a monthly overview instead of just a solid color 4x6 pocket for the month. (I stamped and embossed the Jan to the card).

Here is the first spread. Two of the Design A page protectors + the inserts.
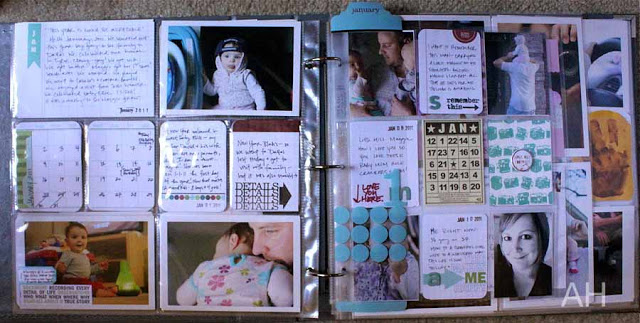
I am using the Turquoise kit mainly for this but will likely add in my own cards and also ones from the Clementine kit. If these are not available I recommend grabbing some of the grid card packs or also some plain white cards. These should be available soon. Also, manufacturers are starting to get the message that this type of memory keeping is catching on and lots of different companies are starting to produce similar products.

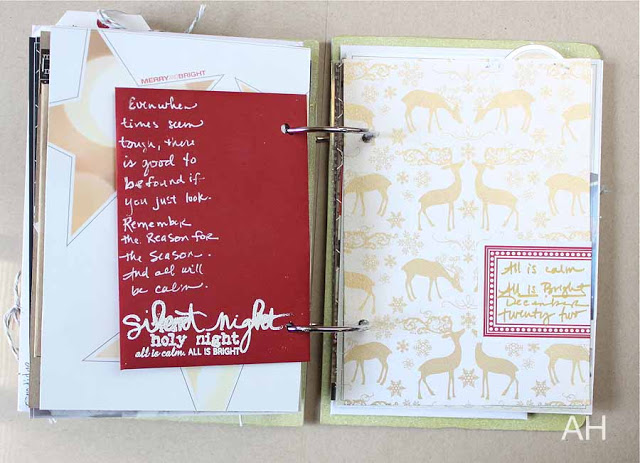
I like adding just a few touches of embellishments. The flair badge is from Ormolu.


The stamps are from Ali Edwards with Technique Tuesday. It's a set from the Studio AE, a monthly stamp club. No longer available but I see there is a set similar to this coming out this year. Check that out here and here. Note that if anyone wants to get me that for Christmas I would love it...hint hint Sam!
It's my 2011 Project Life. I started in 2009 doing a photo a day and lasted three weeks. I didn't have a core kit, plastics, binder, any of that. I did a few digital pages and that was it.
Enter 2011 and I was trying to come up with a system to capture my photos, story and memorabilia. Maggie was growing so quickly I wanted to do something. I thought I would try doing Project Life on a weekly basis like I had seen so many people do. I set up the binder and put in a title card for each week. The monthly dividers were cool so I used those. I even did a few journaling cards here and there. My struggle was keeping up, printing photos, etc. My computer at the time was on its last legs. I had a very old printer. Essentially it turned into a memorabilia binder.
Enter 2012. I say to myself, "No way. Have you looked at your 2011? It's a mess!" But then a few things changed. I got a new computer and printer. I came up with a system that could work for me: see my blog post about that here. And so far it's going much better than 2011, although in no way shape or form am I "caught up."
Honestly I have quite a few unfinished projects. I just recently put some in a plastic bin to put in the garage until inspiration strikes. But this 2011 Project Life kept coming to the surface. Recently I have been able to finish some of those unfinished projects. For me, sometimes it takes a new product or a new plan or design scheme to spark a new interest in me to finish. Take for example my 2011 Week in the Life. I initially started it in a old Franklin Covey planner, but it just didn't feel right. So I left it unfinished. Then I found the Martha Stewart mini-binder and the wheels started turning. I love that project.
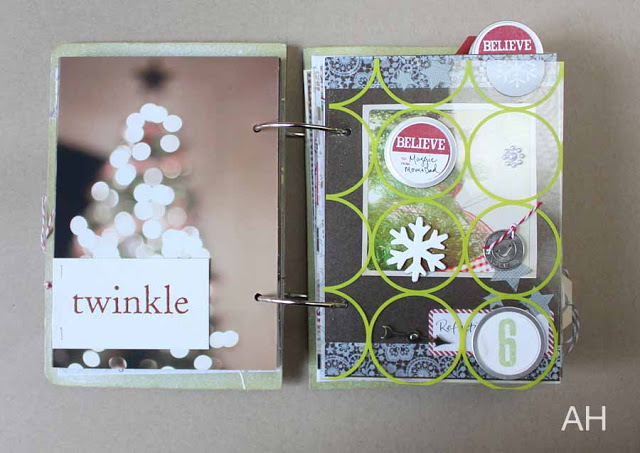
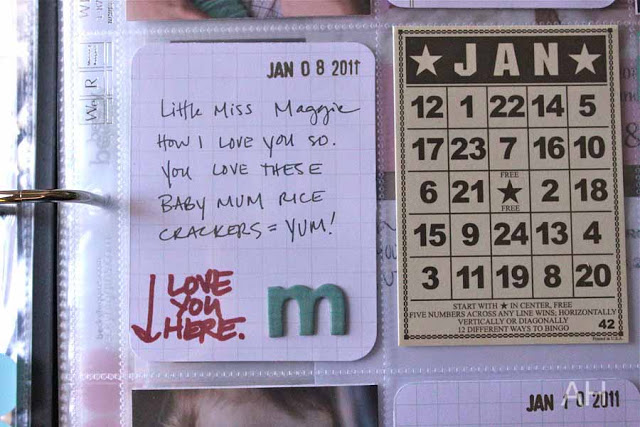
So what was that magical thing that sparked me to re-work my 2011 Project Life? These monthly mini bingo cards by Jenni Bowlin. I got them as part of my Twelve class at BPC (Big Picture Classes). She had originally had intended us to use them for something else, but when I saw them I was like "ah-ha!" Do it monthly!
So I rearranged the plastic divided page protectors, moved things around and came up with a plan.
- Each month has 2 "spreads" (a spread is as if you are looking at the book and there is a left side and a right side).
- Each month has an 8 1/2 x11 divided baseball card page with that monthly bingo card.
- I can add several "inserts" or other smaller divided page protectors as needed.
- I think there will be two volumes and each will have a large envelope page at the back to store larger memorabilia.
- There is a title page and introduction spread in Vol. 1.
I also got some photos printed recently from both Persnickety Prints and Shutterfly. Working on a bigger project like this, it is easier for me to just have a bunch of my favorite photos ready to go.
As I was photographing the album to share, my daughter was excited about it. I thought it was so cute that I decided to use those photos to share what my album looks like right now. I've also got some pictures I took today of my first opening page of January 2011 that I finished today to give you an idea of how it is hopefully going to turn out. So here we go!
A look at my binder. As I've been adding things I think there will be two volumes. For more detail on the binder scroll to the end of the post.
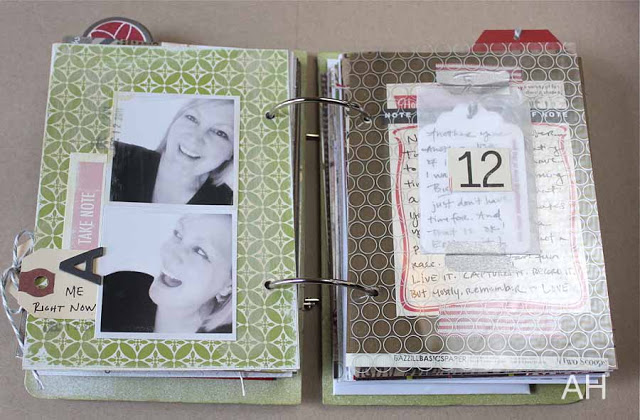
Love that she wanted to look at the book! She was so excited to see herself and mommy and daddy.
As you can see I still have some work to do!
These pages are big! But I have a lot of photos + stuff = need for big pages!
This makes me want to keep adding memorabilia and little bits and pieces of life.
Love this perspective.
Above that is December. I have the photos for January and December so far. Will gradually work on adding the rest.
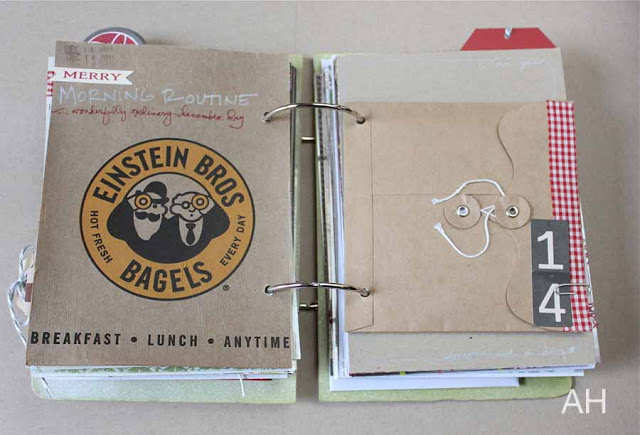
Below is one way I have tried keeping track of memorabilia. I got this from Office Max. It has three slots for different sized stuff. Works great.
And below here is January after I added the photos and before I added the journaling.
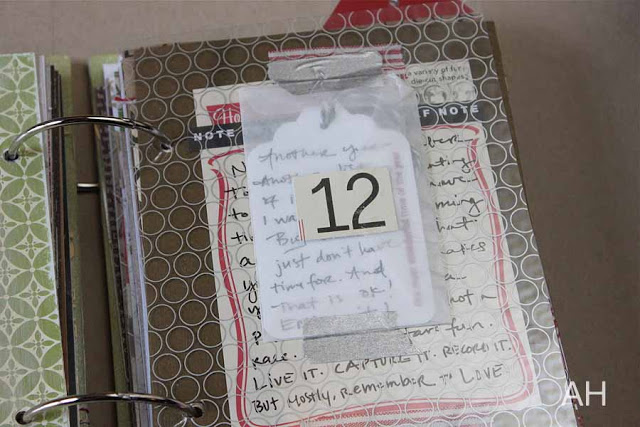
Below you can see where I added some journaling.
I used a journaling card from Archivers instead of the full color intro card. With this many photos I wanted a place for a monthly overview instead of just a solid color 4x6 pocket for the month. (I stamped and embossed the Jan to the card).
Here is the first spread. Two of the Design A page protectors + the inserts.
I am using the Turquoise kit mainly for this but will likely add in my own cards and also ones from the Clementine kit. If these are not available I recommend grabbing some of the grid card packs or also some plain white cards. These should be available soon. Also, manufacturers are starting to get the message that this type of memory keeping is catching on and lots of different companies are starting to produce similar products.
I like adding just a few touches of embellishments. The flair badge is from Ormolu.
The stamps are from Ali Edwards with Technique Tuesday. It's a set from the Studio AE, a monthly stamp club. No longer available but I see there is a set similar to this coming out this year. Check that out here and here. Note that if anyone wants to get me that for Christmas I would love it...hint hint Sam!
So there it is! I am loving this project. I love that Maggie is already wanting to look at it even though it's not finished. I love seeing the changes in her from just a year ago. It's amazing. I am so thankful to be doing it and know it's worth it.
Project Life by Becky Higgins is a set of cool divided page protectors, kits and more to help capture our photos and stories in an easy to use format. It can be whatever you want it to be. Check out her site to learn more. I also recommend checking out the Design Team. They totally rock. And also there is a free Project Life Community at Big Picture Classes.
Other supplies used:
12x12 We R Memory Keepers Album in grey. You can get one at Amazon here. Or the grey is exclusive to Archivers. You can get it here.
Other supplies used:
12x12 We R Memory Keepers Album in grey. You can get one at Amazon here. Or the grey is exclusive to Archivers. You can get it here.